


Bundle Your Favorites
Mix and match your go-to beauty tools and save 25% when you add 2 or more items to your cart. No code needed.


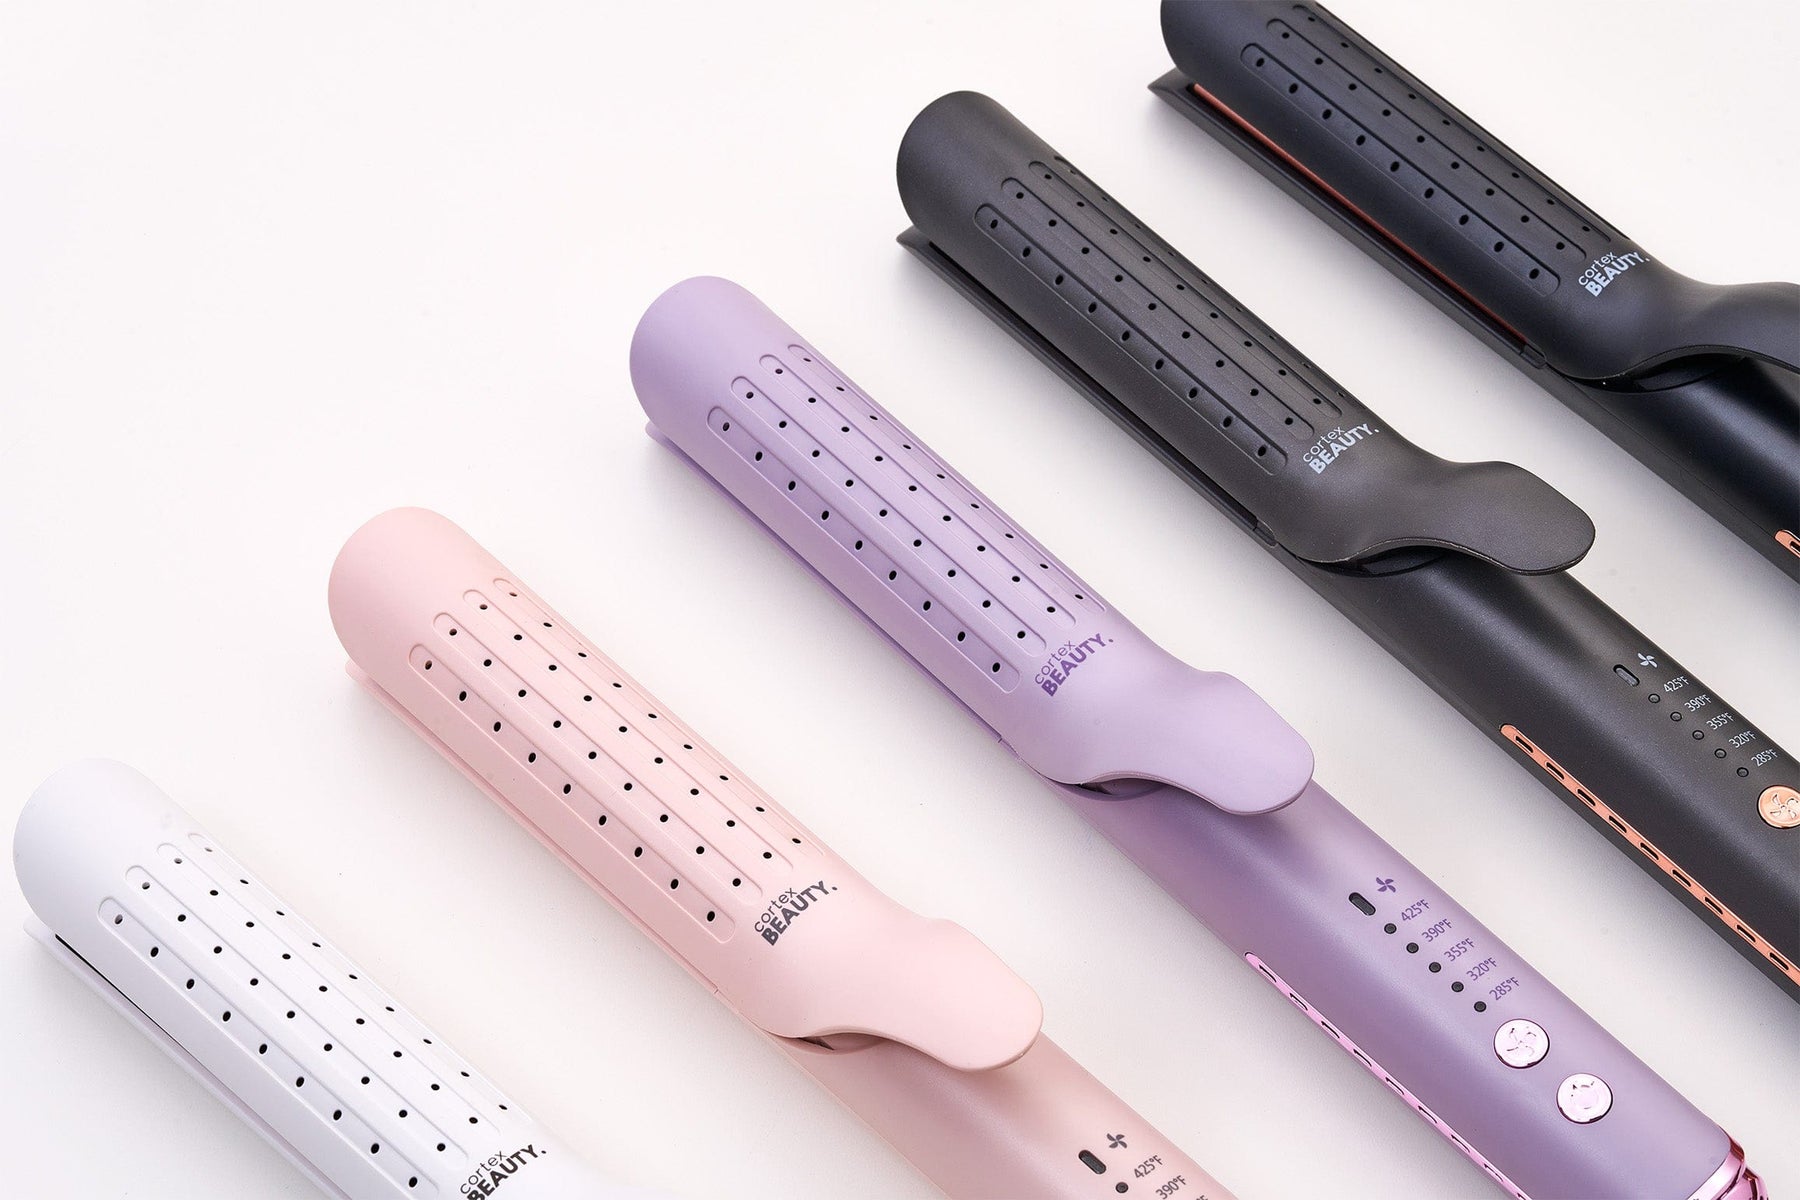
FLAT OUT Fabulous 1” Digital Flat Iron
Choose your option


Str8up 1" Digital Flat Iron
Choose your option


Sleek Fold | Foldable Travel Dryer
Choose your option


1.25” PRO Barrel Extra - Long Curling Iron
Choose your option


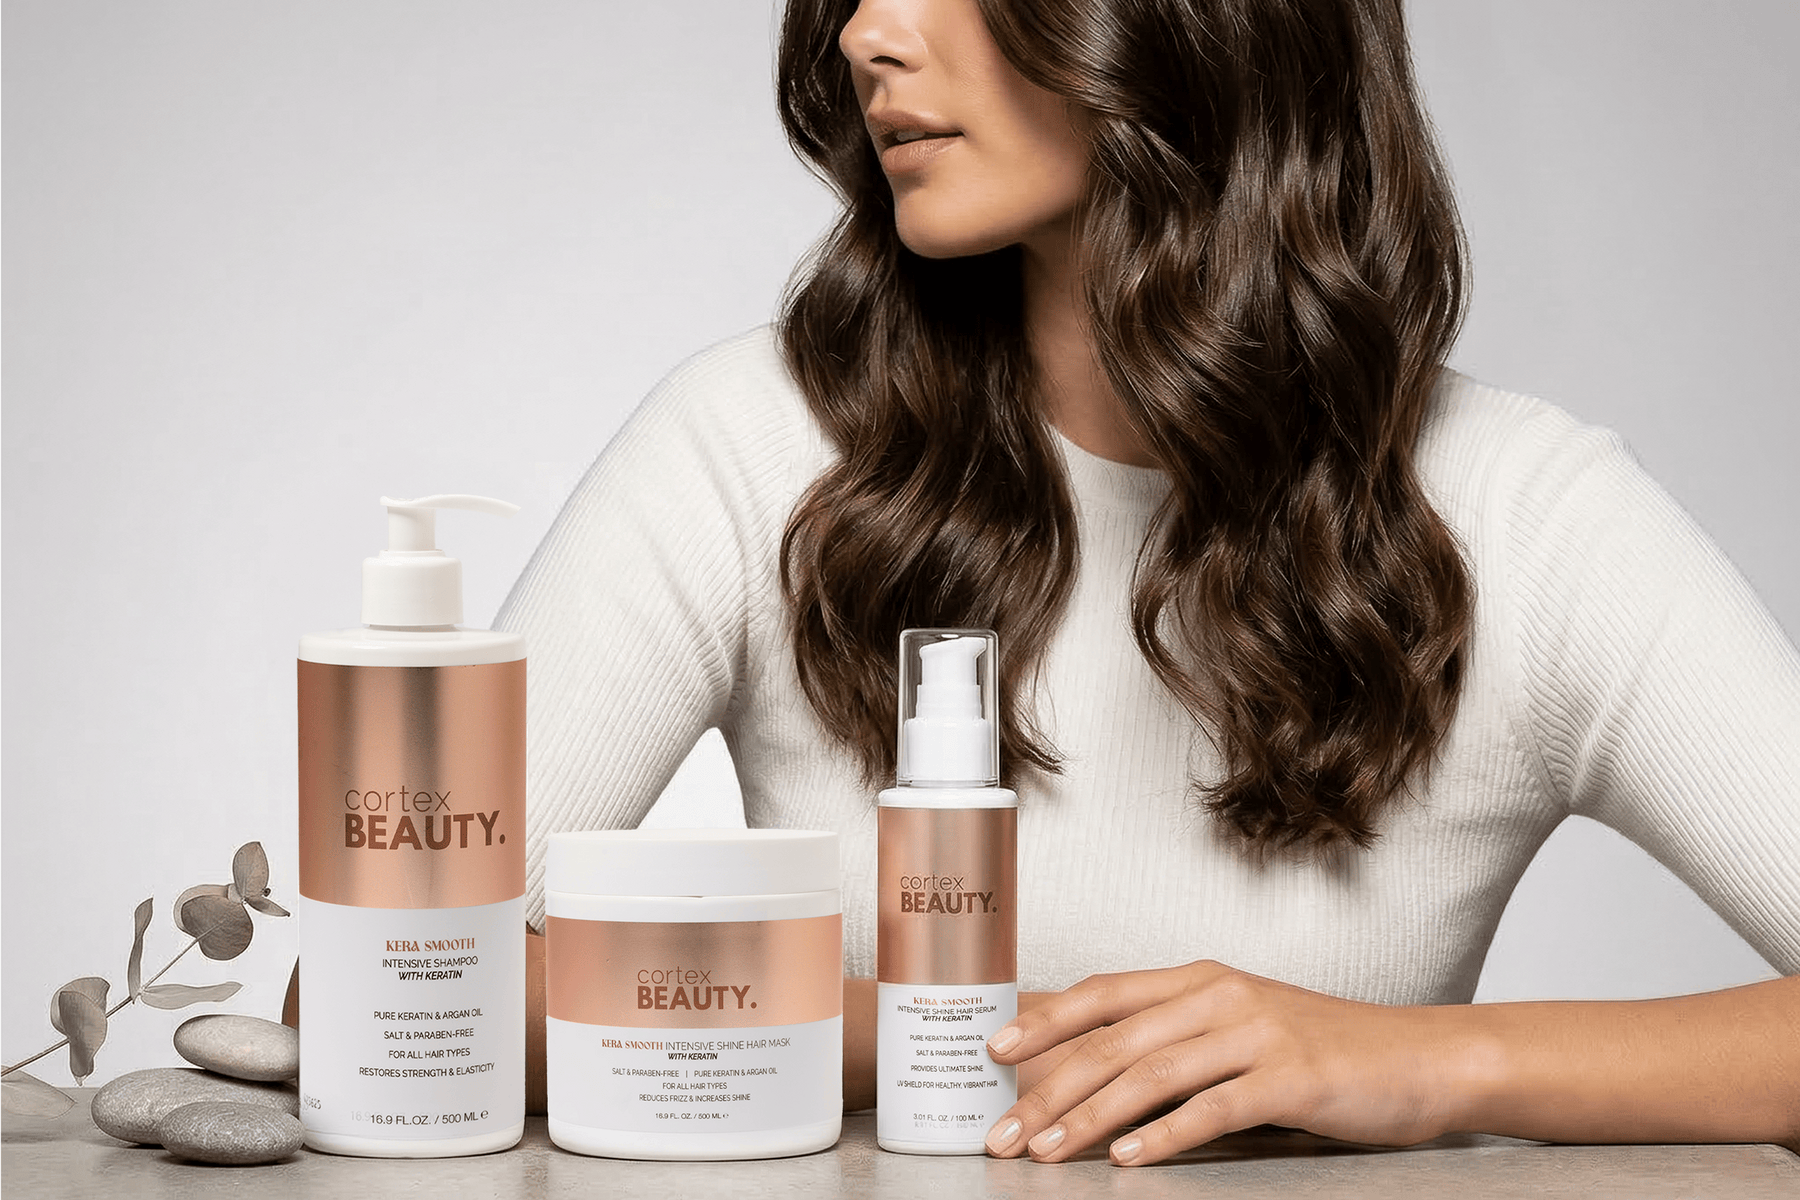
Hydra Glow Replenishing Shampoo
Choose your option


Repair Formula Intensive Care Formula Hair Serum
Choose your option


1” PRO Barrel Extra-Long Curling Iron
Choose your option


Pure Keratine Intensive Shampoo
Choose your option


1.5” PRO Barrel Extra-Long Curling Iron
Choose your option


Intense Nutrition Hair Mask
Choose your option


Hydra Glow Replenishing Set (Shampoo + Mask)
Choose your option

Hydra Glow Replenishing Complete Hair Kit (Shampoo + Hair Mask + Hair Serum)
Choose your option

Pure Keratine Intensive Set (Shampoo + Mask)
Choose your option

Pure Keratine Intensive Shampoo Complete Hair Kit (Shampoo + Hair Mask + Hair Serum)
Choose your option


Repair Formula Intensive Care Formula Complete Hair Kit (Shampoo + Hair Mask + Hair Serum
Choose your option

Repair Formula Intensive Care Formula Set - Shampoo + Mask
Choose your option

Keratin Hydrating Shampoo and Strengthening Conditioner Set
Choose your option

Keratin Hydrating Shampoo, Strengthening Conditioner, and Argan Oil Set
Choose your option

Keratin Hydrating Shampoo, Strengthening Conditioner, and Reviving Hair Mask Set
Choose your option
Shop by Category


Build a routine that works—shampoo, conditioner, masks, and treatments for everyday results.


Simple daily care, elevated—cleansers, serums, moisturizers, and more for a fresh, radiant-looking finish.


Simple daily care, elevated—cleansers, serums, moisturizers, and more for a fresh, radiant-looking finish.

Top Sellers


Volumizing Blowout Brush | 2" Professional Hot Brush
Choose your option


AirGlider | 2-in-1 Cool Air Flat Iron/curler
Choose your option
1.25” PRO Barrel Extra - Long Curling Iron
Choose your option


Bare Bliss | Repair & Shine Argan Oil Serum | 1.7 oz
Choose your option


ProSteamer | 1.25" Thermolon Argan Infusion Vapor Flat Iron With 1 Argan Oil Refill
Choose your option


AirFusion | 5 in 1 Multistyler
Choose your option


PROSteamer Professional Steam Flat Iron
Choose your option
Pick Your Finish
Choose the result. We’ll show you the tools.

Achieve this finish

1.25" Solid Ceramic Ionic & Far-Infrared Technology Flat Iron

AirGlider | 2-in-1 Cool Air Flat Iron/curler

ProSteamer | 1.25" Thermolon Argan Infusion Vapor Flat Iron With 1 Argan Oil Refill

Achieve this finish


1.25” PRO Barrel Extra - Long Curling Iron

Achieve this finish

1.5" Digital Infrared & Ionic Thermal Styling Brush

Temp Control Extra-Long 1.5” Ionic Styling Brush

Volumizing Blowout Brush | 2" Professional Hot Brush


What customers are saying
Real feedback on the tools and routines they use most.
This flat iron gives me that smooth, glossy finish fast. My hair looks polished without a bunch of passes.”

“I didn’t think I’d actually use all the attachments, but I do. One tool covers my whole week—sleek, waves, and volume.”

“Dry time is noticeably quicker and the blowout looks clean. The airflow feels powerful but controlled.”

“The waves come out even and soft, not crunchy. It’s the easiest way to get texture that still looks expensive.”

“This brush is my ‘get-ready’ shortcut. It smooths while I style, so I’m done in minutes.”

As Featured in


